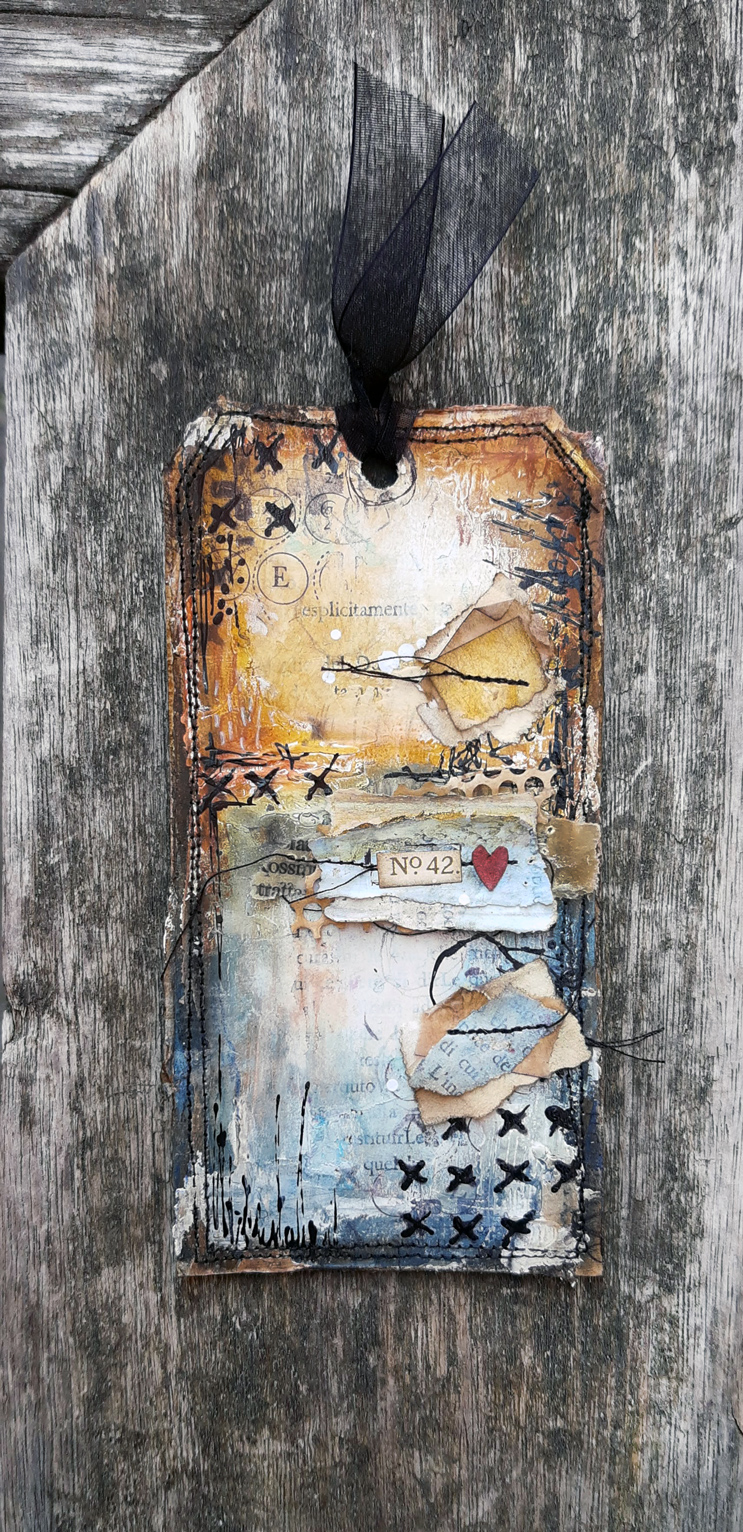
N.42
Hello Crafters !
Today I want to share with you this quick process video I shared on my IGTV channel.
Please note this...
The video is a quick process video. I know that it is fast, so in case you would like to see a slower version of it, you can drop me a line into the comment section or email me and I will try my best to upload a slower version.
The idea behind this video, is to simply share with you a process, it is not intended to teach you a step by step process, that is why I kept it under 3 minutes.
The goal was to simply grab distress markers and have fun creating layers and textures!
- I added gesso to an old book page with a spatula and dried with the heat tool.
- I layered distress crayons and then with a baby wipe I started blending the colors. I realized the baby wipe was “too wet” so then I put it aside and I used only my fingers. I used the baby wipe only to wet slightly my fingers to help with the blending.
- I used Distress Gel Matte Medium to adhere the book page to the tag and I ripped off the edge of it. I used the distress tool to distress even more the sides. Then I kept layering colors.
- I repeated the gesso – dry – blending distress crayon again for a couple of time till I got the background I was looking for.
NOTE: the distress crayons are forgiving if you act quick. Use a brush and water to remove what you didn’t like. For example I didn’t like the black line and removed it. - I then stamped with archival black ink and a mix of Tim Holtz and Stampers Anonymous stamps.
- I added some more texture by drawing through a stencil (my favorite one) and then I used another one with ink and blending tool. To add even more texture I used paint through a needle and draw some scribbles around the tag.
- Sew around
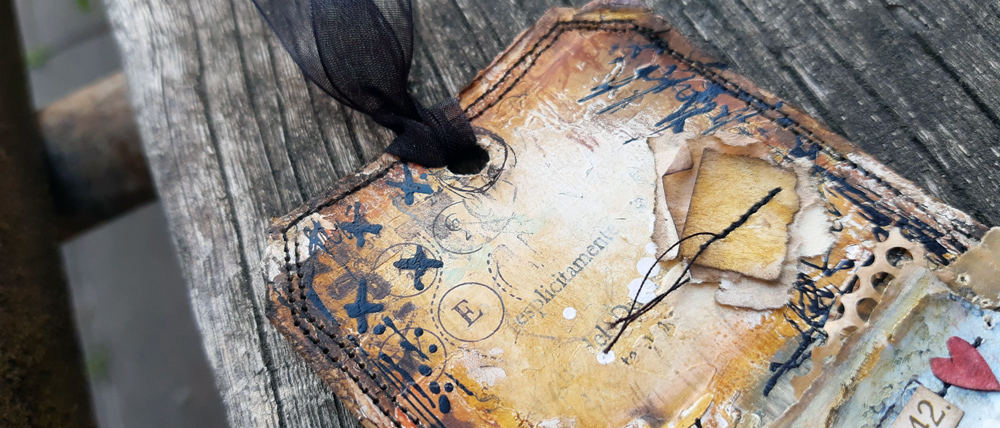
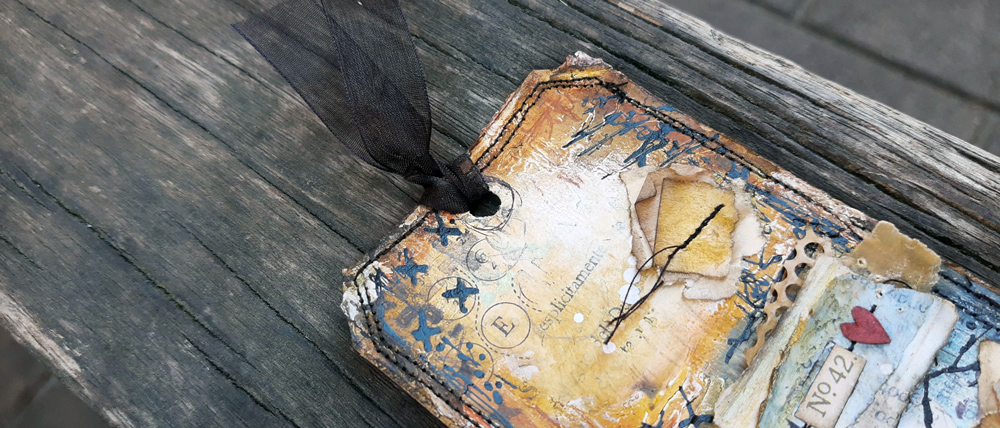
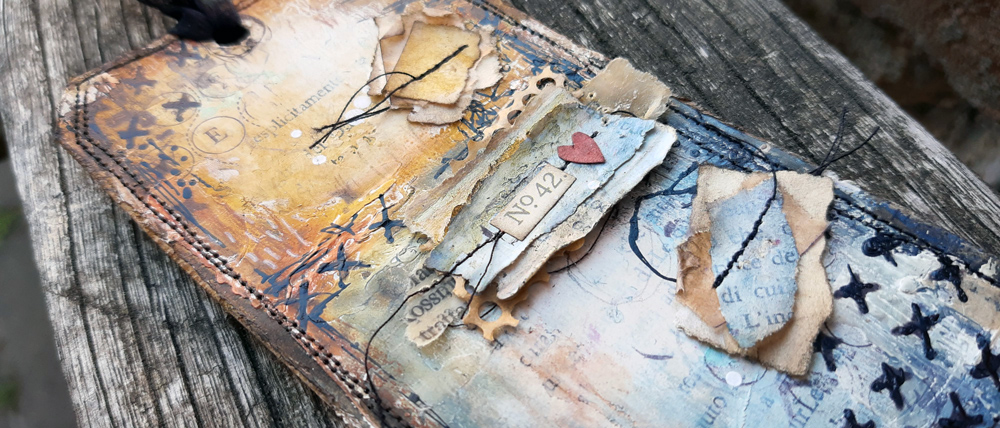
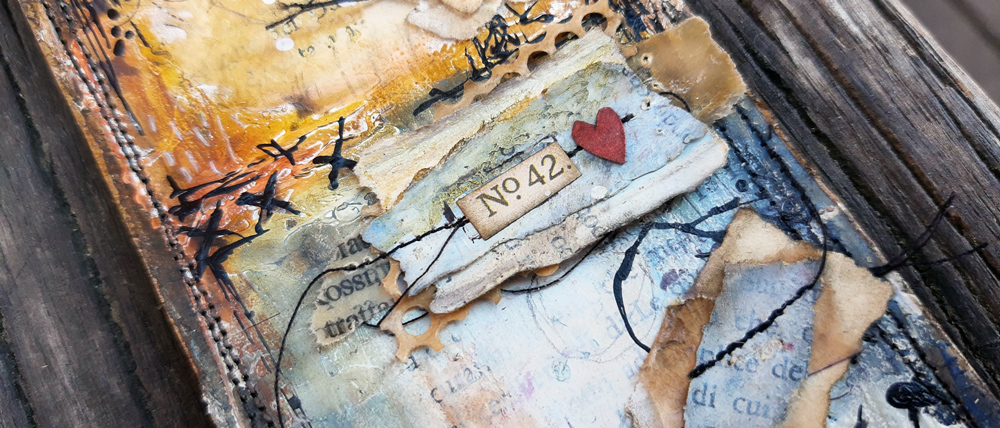
- Create a little cluster with pieces of paper and stack them together. I cut a little heart just because little hearts are always fun! Then I addes some more markings just to complete the whole thing.
NOTE : The first version of the tag was like how the video ends, then after adding the ribbon I felt like it was too empty. So I used pieces of paper that I ripped at the beginning and made two little clusters that balanced the whole design.
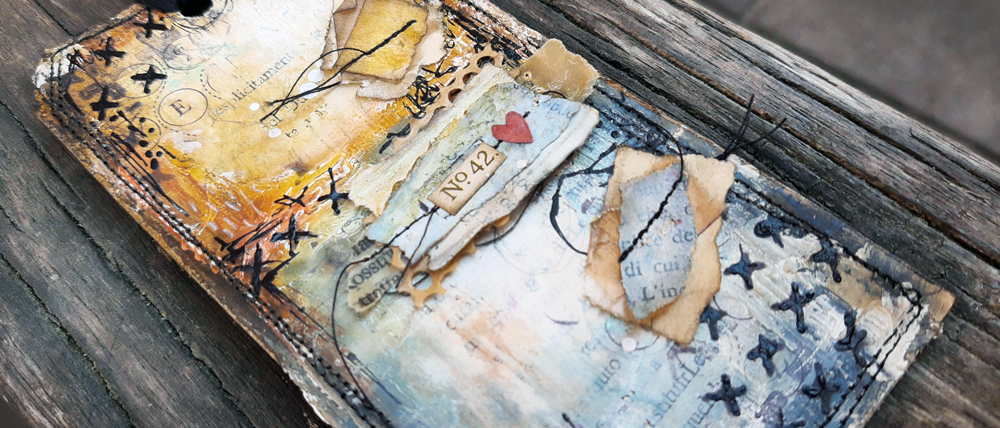
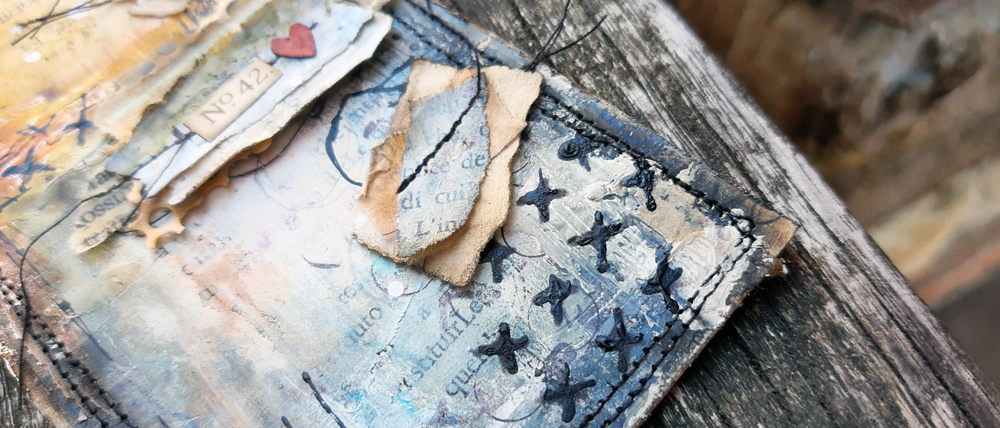
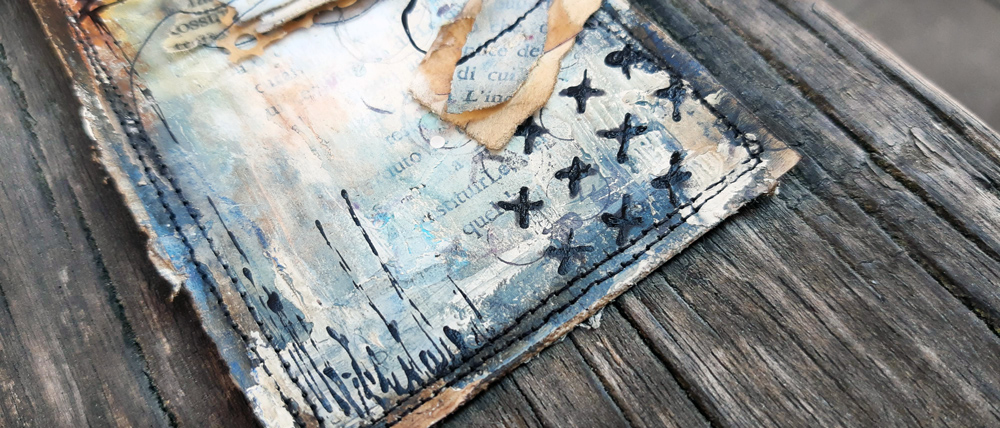
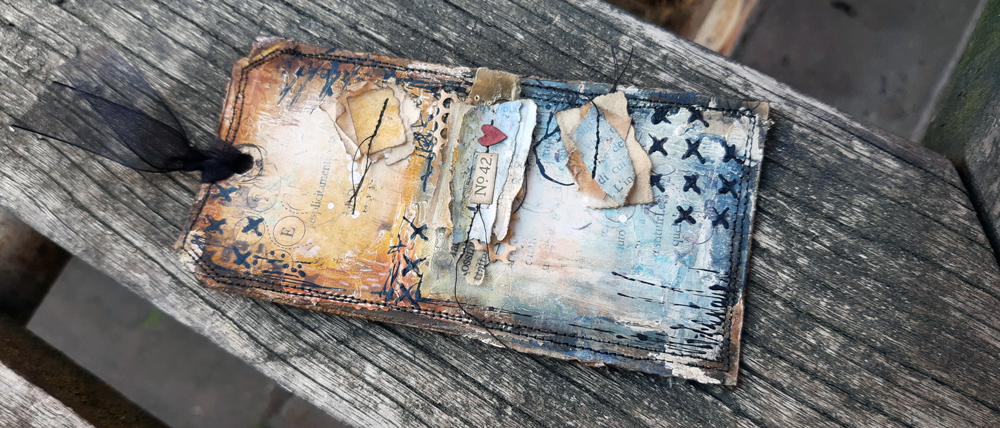
And that’s all for today, If you have any questions, suggestions or if you want to let me know what you think of this project, leave a message!
Stay happy , stay creative…Till next time!
Ciao Zoey
Do you want to support me for free? Share this post!
Ingredients
Paint
- Ranger Tim Holtz Distress Crayon VINTAGE PHOTO TDB49678
- Ranger Tim Holtz Distress Crayon RUSTY HINGE TDB49616
- Ranger Tim Holtz Distress Crayon WALNUT STAIN TDB49654
- Ranger Tim Holtz Distress Crayon BLACK SOOT TDB49661
- Ranger Tim Holtz Distress Crayon GROUND ESPRESSO TDB52043
- Ranger Tim Holtz Distress Crayon CHIPPED SAPPHIRE TDB49609
- Ranger Tim Holtz Distress Crayon STORMY SKY TDB52036
- Ranger Tim Holtz Distress Crayon BLUEPRINT SKETCH TDB51978
- Ranger Tim Holtz Distress Crayon PEELED PAINT TDB49623
- Ranger Tim Holtz Distress Crayon TUMBLED GLASS TDB51909
- Ranger Tim Holtz Distress Crayon SPICED MARMALADE TDB48756
- Ranger Tim Holtz Distress Crayon CARVED PUMPKIN TDB51947
- Ranger Tim Holtz Distress Crayon CANDIED APPLE TDB51817
- Ranger Tim Holtz Distress Crayons SET 2 TDBK47919
Inks
Stamps
Media
Tools
- Tim Holtz DISTRESS SPRAYER Ranger 4 Ounces TDA47414
- Ranger MINI ROUND INK BLENDING TOOLS IBT40965
- Ranger Non Stick CRAFT SHEET 15 x 18 Reusable NSC20677
- Dina Wakley Ranger PALETTE KNIFE Media MDA41771
- Ranger EUROPEAN VOLTAGE HEAT IT CRAFT TOOL HIT27089
- Tim Holtz Tonic Craft MINI SNIPS Scissors 816ered
- Tim Holtz Tonic PAPER DISTRESSER Altered Aged Edges 370e
Misc.

5 Responses
What a wonderful artwok, love all the details!
love it
LOVE all the layers here!
Thank you so much- loving your layers
Thank you so much! Glad you liked it!